

Enhance Your Skills with P6 Basic Turnaround Scheduling | Online Course – Register Now!
Enhance Your Skills with P6 Basic Turnaround Scheduling | Online Course – Register Now!
Check out our latest online module, designed to empower professionals in the realm of project management: P6 Basic Turnaround Scheduling. As the demand for efficient project management continues to surge across industries, mastering the intricacies of turnaround scheduling becomes increasingly essential. With this cutting-edge module, we aim to equip individuals with the knowledge and skills necessary to excel in this dynamic field.
Why P6 Basic Turnaround Scheduling?
In today’s fast-paced business environment, a successful project hinges on effective scheduling. Turnaround projects, in particular, demand meticulous planning and execution to minimize downtime, optimize resources, and meet project objectives within tight deadlines. Primavera P6, renowned for its robust features and versatility, is a premier tool for managing turnaround projects. Our module focuses on harnessing the power of P6 to streamline turnaround scheduling processes and drive project success.
What You’ll Learn:
Through our comprehensive curriculum, participants will delve into the fundamentals of turnaround scheduling using P6. From understanding project structures and resource allocation to mastering critical path analysis and progress tracking, this module covers essential concepts tailored to the unique requirements of turnaround projects. Participants will gain hands-on experience with P6 software, enabling them to navigate complex scheduling scenarios with confidence and precision.
Module Curriculum:
- Section 01: Introduction to Turnarounds
- Section 02: P6 Navigation & User Settings
- Section 03: Creating the Turnaround Files
- Section 04: The Work Breakdown Structure (WBS)Section 05: Plan Validation vs Schedule Optimization
- Section 06: Adding Activities & Creating Relationships
- Section 07: Utilizing Calendars
- Section 08: Activity Codes
- Section 09: Customizing the Project
- Section 10: Creating & Assigning Resources
- Section 11: Scheduling Concepts
- Section 12: Maintaining & Assigning Baselines
- Section 13: Scheduling During Execution
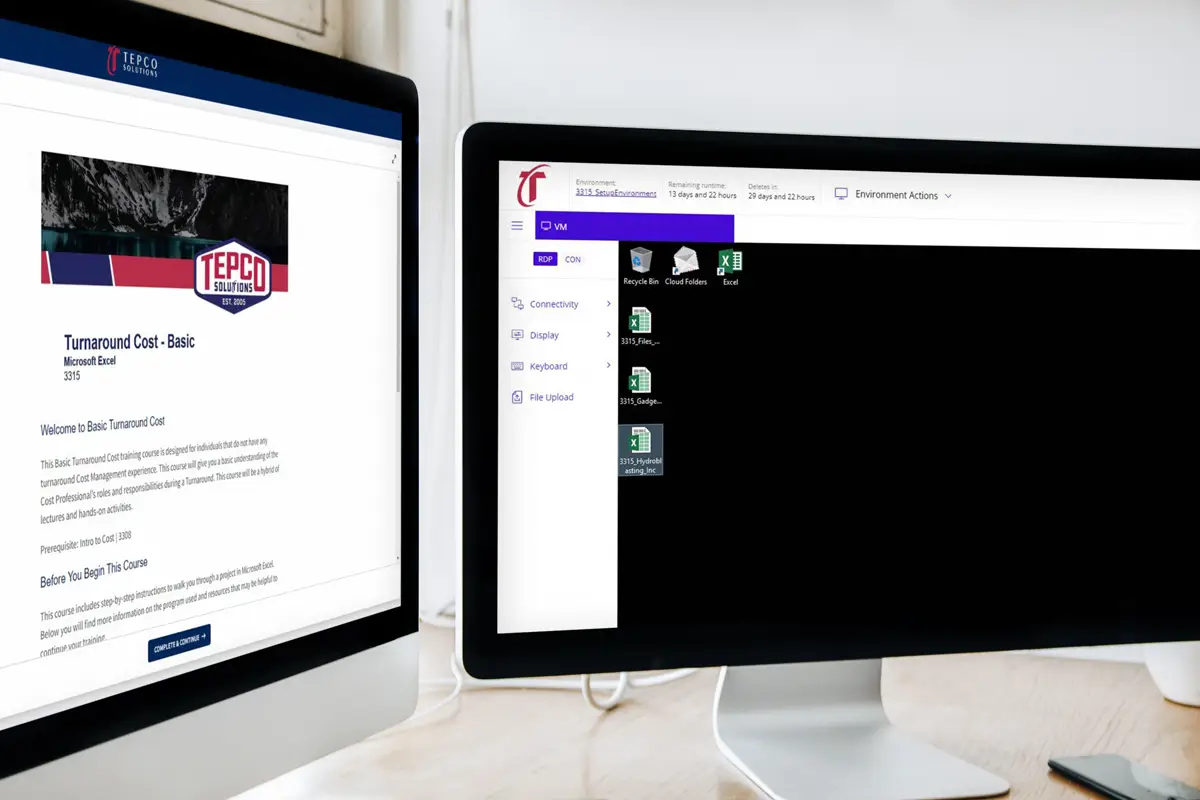
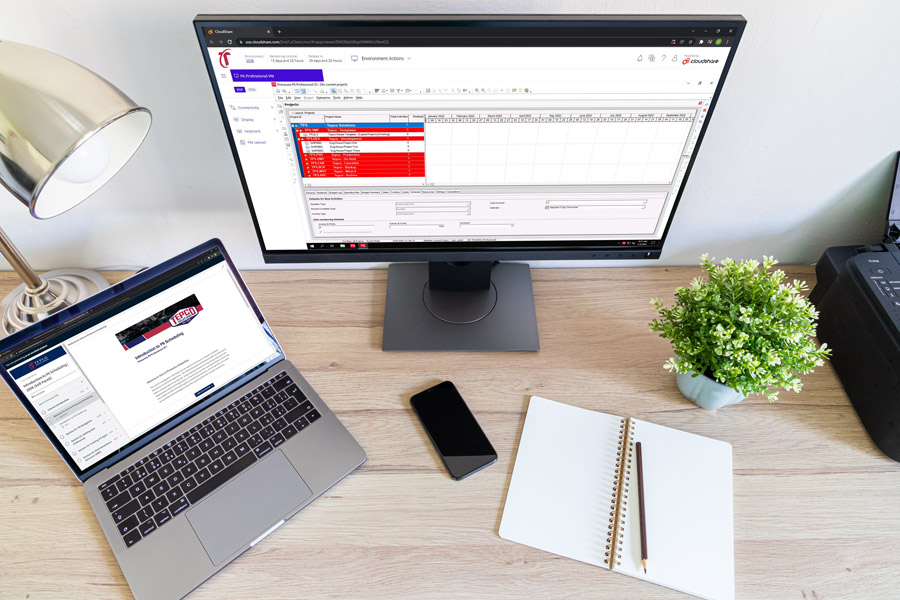
P6 Basic Turnaround Scheduling | 2015 (Self-Paced)
This Basic Turnaround Scheduling course is designed for individuals who have no Turnaround experience utilizing the P6 application. Students will gain a thorough understanding of how to build schedules to meet the required needs in today’s industry. Get started now!
Key Highlights:
- Interactive Learning: Engage with dynamic course materials, including video tutorials, and interactive exercises, to deepen your understanding of turnaround scheduling principles.
- Flexible Learning: Access course materials anytime, anywhere, through our intuitive online platform, allowing you to learn at your own pace and convenience.
Who Should Enroll:
This module is ideal for project managers, schedulers, engineers, and professionals involved in planning and executing turnaround projects. Whether you’re a seasoned practitioner looking to enhance your skills or a newcomer seeking to break into the field, P6 Basic Turnaround Scheduling offers invaluable knowledge and resources to propel your career forward. This Basic Turnaround Scheduling course is also designed for individuals who have no Turnaround experience utilizing the P6 application. Students will gain a thorough understanding of how to build schedules required to meet today’s turnaround industry.
Join Us Today:
Don’t miss this opportunity to elevate your project management capabilities with P6 Basic Turnaround Scheduling. Enroll now to unlock the tools and techniques essential for success in today’s competitive landscape. Accelerate your career journey and embark on a path to excellence with our industry-leading online module. Not sure where to begin? We also have an Introductory course available.
Empower yourself. Enroll today.


")