
Getting Ready for 2026: Your Tepco Solutions Holiday Project Controls Guide
Getting Ready for 2026: Your Tepco Solutions Holiday Project Controls Guide
The holidays are here — a time for celebration, reflection, and planning for the opportunities ahead. While many organizations wind down for the season, the most successful teams look ahead and use this time to prepare for a strong start to the new year.
That’s where Tepco Solutions comes in.
For more than 20 years, we’ve supported capital and turnaround projects across major industries — providing the tools, talent, and leadership teams need to execute with confidence. As 2026 approaches, we’re here to ensure your organization is aligned, optimized, and ready to deliver.
This holiday checklist outlines how Tepco can help your team move into the new year with clarity, speed, and full-scope project control.
1. Strengthen Collaboration & Document Control
SharePoint & Digital Workplace Integration
Disorganized data is one of the biggest causes of project delays. Before new scopes and contractors arrive in 2026, set the foundation for efficient communication:
Central repository for documents, drawings, and reports
Standard naming conventions and metadata tagging
Permission-driven access that protects sensitive information
Integrated reporting with Power BI, Excel, and external tools
Configurable sites for each team, contractor, or location
When everyone works from one source of truth, decision-making becomes faster and more reliable — all year long.
2. Build Schedules That Stand Strong
Planning & Scheduling Services
Whether you’re kicking off a capital expansion or planning a site turnaround, a reliable schedule is your roadmap to success:
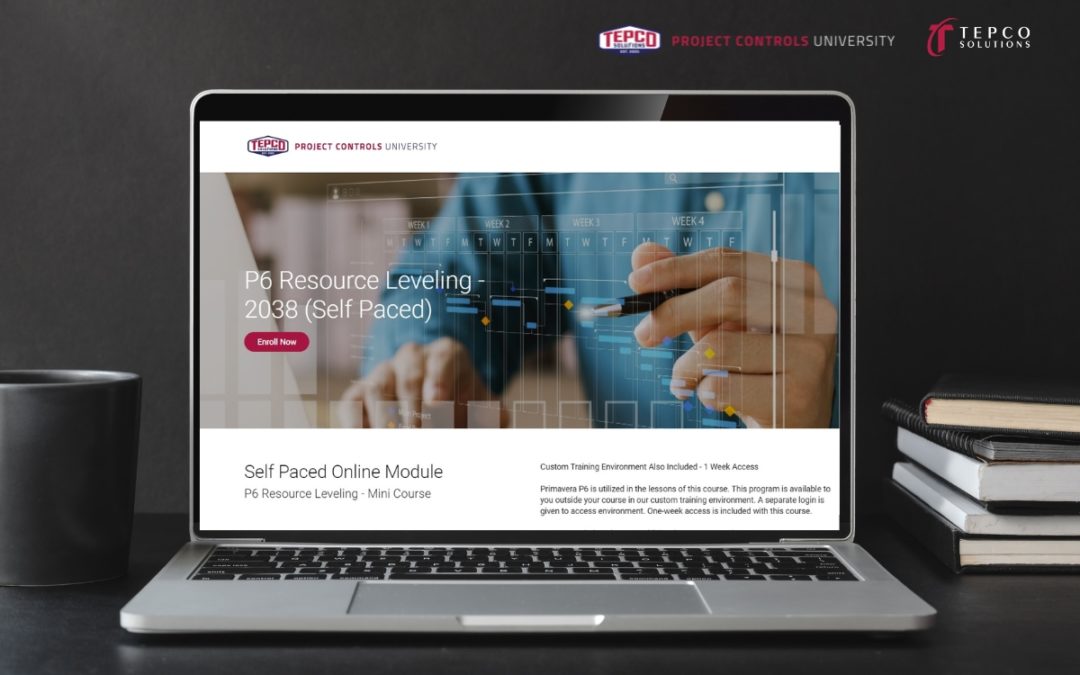
Primavera P6, Microsoft Project & advanced planning expertise
Logic-driven sequences that match real construction constraints
Baselines, recovery plans, and critical path analysis
Field-aligned planning for execution and productivity
We don’t just build schedules.
We build tools that guide execution.
3. Protect Profitability from Day One
Cost Engineering & Forecasting
Market conditions are changing — which means cost precision matters more than ever:
Development of detailed cost estimates and budgets
Earned value management & real-time performance insights
Accurate forecasting through every stage of the project lifecycle
Variance analysis to prevent escalation and surprises
Tepco helps teams stay on budget — and stay competitive.
4. Proactively Manage Uncertainty
Risk Analysis & Mitigation
As projects scale, so does uncertainty. We help teams eliminate guesswork:
Monte Carlo cost & schedule risk simulations
Quantitative and qualitative threat identification
Actionable mitigation strategies
Transparent executive dashboards
Unexpected events may happen — but they shouldn’t be unplanned for.
5. Align Your Team Before Execution Starts
Interactive Planning Session (IPS) Facilitation
Strong projects start with aligned teams.
IPS ensures every stakeholder begins on the same path:
Aligning scope, sequencing, resources, and risk
Clarifying contractor responsibilities
Confirming milestone certainty
Eliminating miscommunication early
IPS creates the momentum your project needs to launch successfully.
6. Scale Your Team with Confidence
Tepco Resource Solutions
Surge demands? Ramp-up staffing? Hard-to-find talent?
We deliver the right people — when you need them:
Planners & schedulers
Cost engineers, estimators & analysts
Project controls professionals
Short-term or long-term support
We’re more than a staffing firm — we’re a trusted project partner.
7. Put Historical Data to Work
Reporting & Visualization Solutions
Winning teams learn from the past to perform better in the future:
Standardized templates and benchmarking tools
Analytics and reporting tailored to project priorities
Data visualization that drives action and accountability
Portfolio-wide insights to improve planning accuracy over time
Better insights = better outcomes.
Start ahead of the curve in 2026.
Tepco Makes the Season Bright — And Your Future Clear
With Tepco Solutions by your side, your team is equipped to handle every challenge the year brings — with smarter planning, stronger execution, and unwavering support.
Ready to start the new year with momentum? Let’s talk about your 2026 project needs.